
Classic Apple Pie
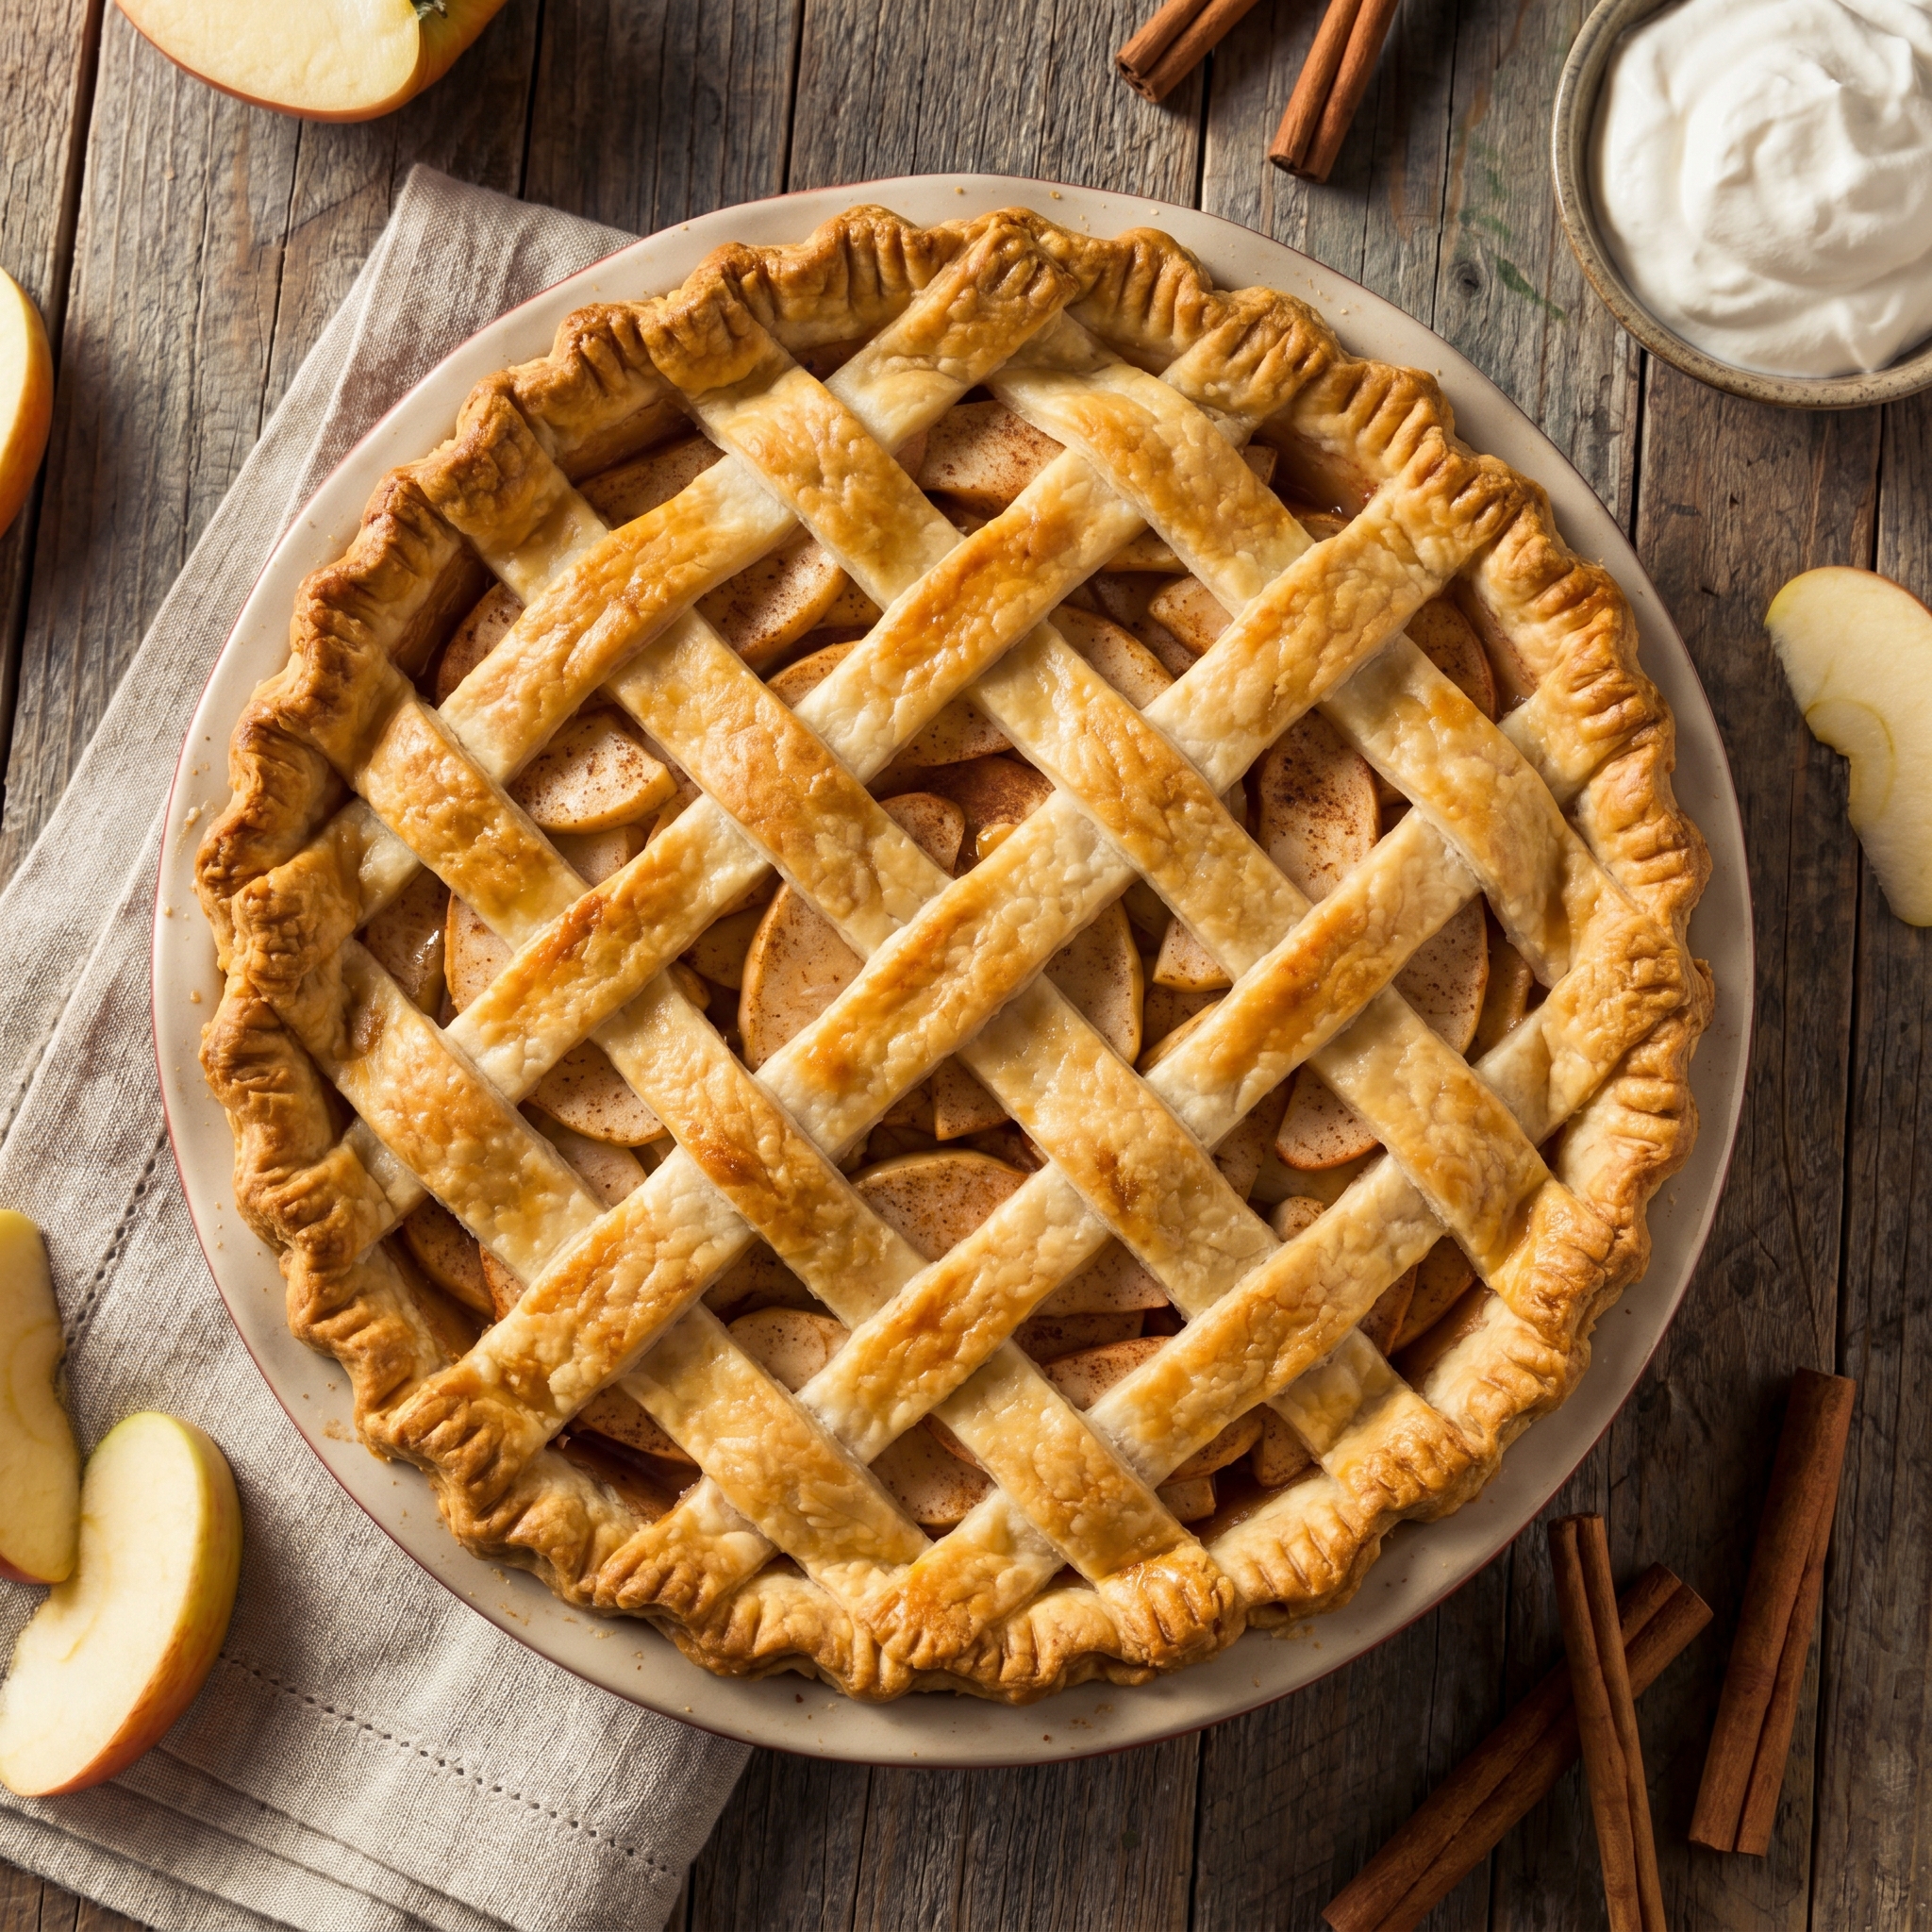
Tender spiced apples in a flaky double crust — the All-American dessert.
Instructions
Make the Pie Dough
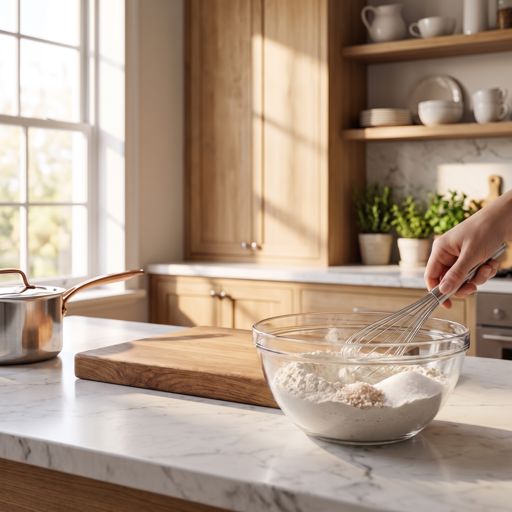
Whisk together the flour, salt, and 1 tablespoon of sugar in a large bowl.
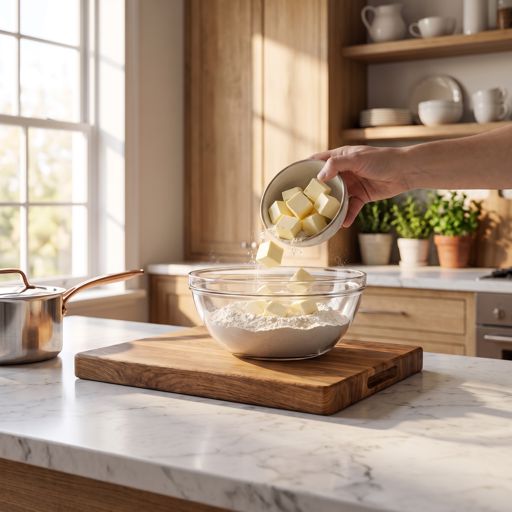
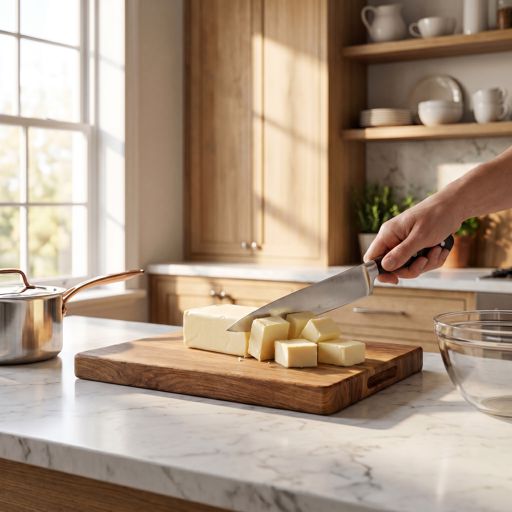
Add the cold cubed butter to the flour mixture.
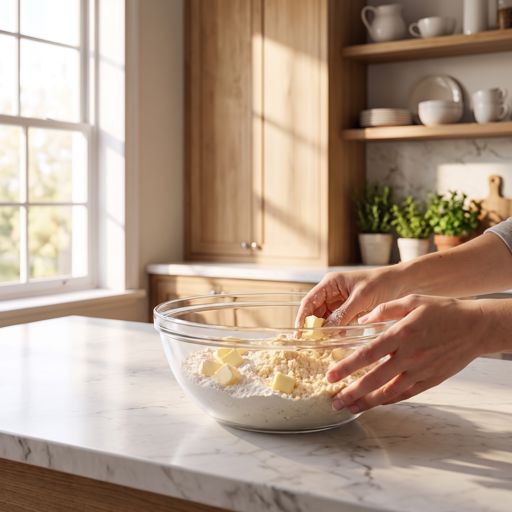
Use your fingertips to press and rub the butter into the flour until the mixture looks like coarse crumbs with some pea-sized pieces of butter remaining.
Drizzle in 6 tablespoons of ice water, one tablespoon at a time, tossing the mixture with a fork after each addition.
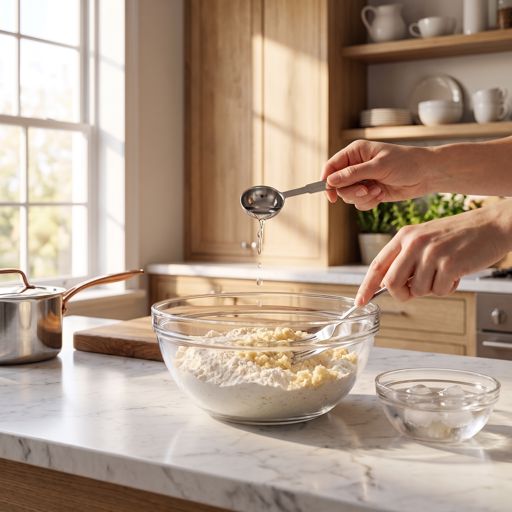
Squeeze a small handful of dough — if it holds together, it's ready; if it crumbles, add more ice water one tablespoon at a time.
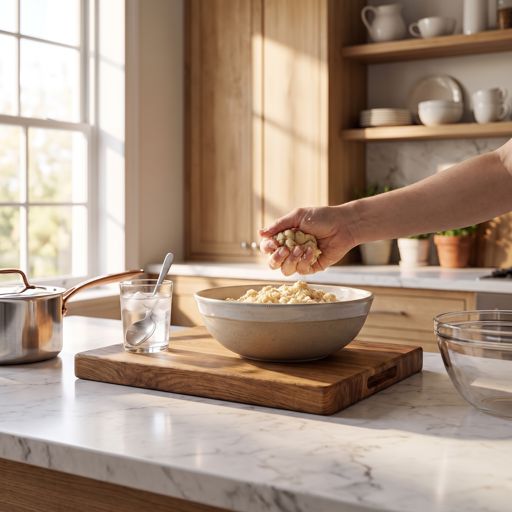
Turn the dough out onto a clean surface and divide it into two equal halves.
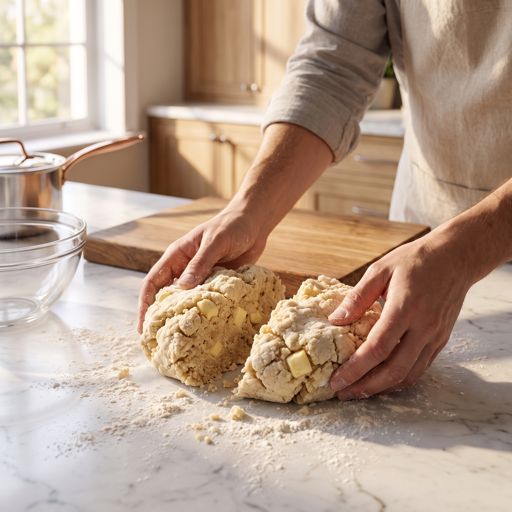
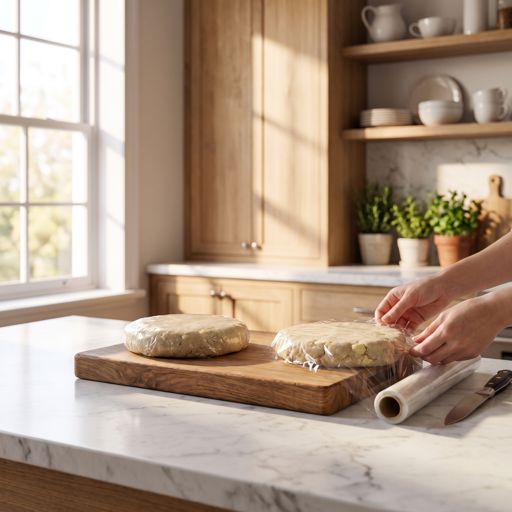
Shape each half into a flat disk about 1 inch thick.
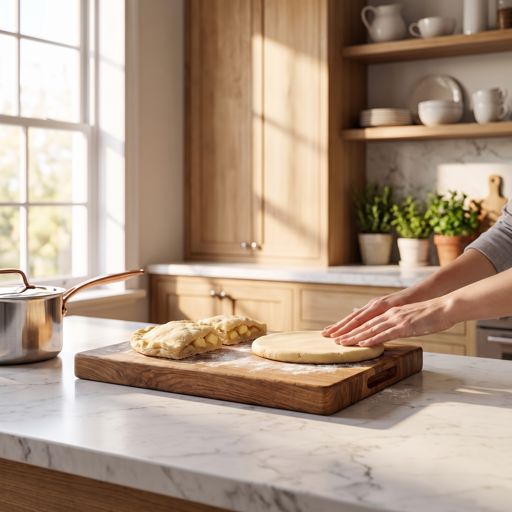
Wrap each disk tightly in plastic wrap and refrigerate for at least 1 hour or up to 2 days.
Make the Apple Filling
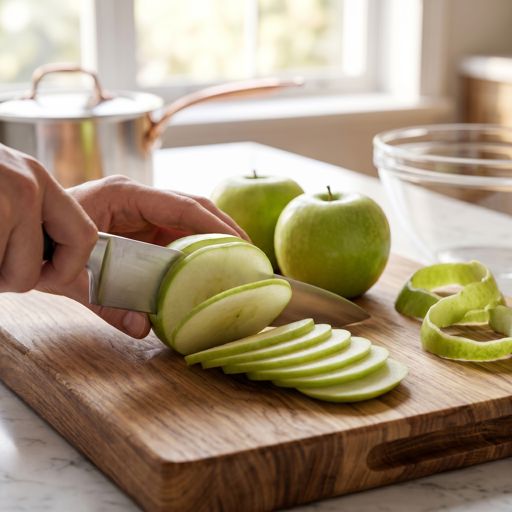
Combine the sliced apples, granulated sugar, brown sugar, cornstarch, cinnamon, nutmeg, allspice, and 1/4 teaspoon salt in a large bowl and toss until every apple slice is well coated.
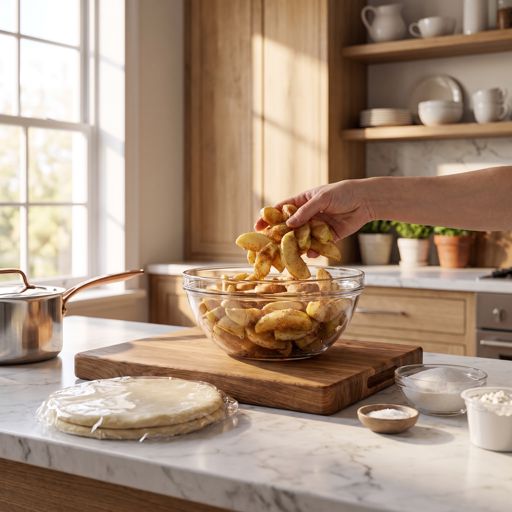
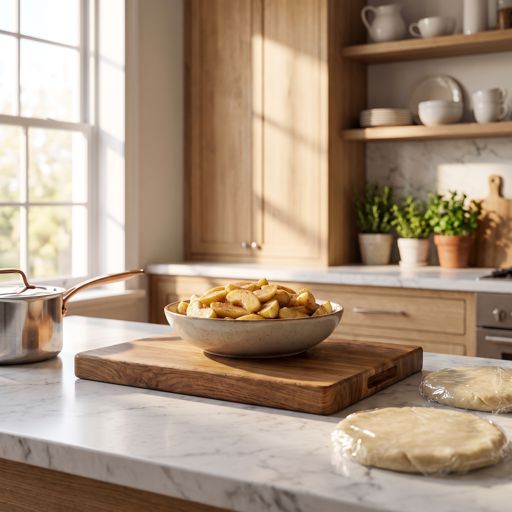
Let the apple mixture sit at room temperature for 15 minutes so the apples release some of their juices.
Preheat and Prepare
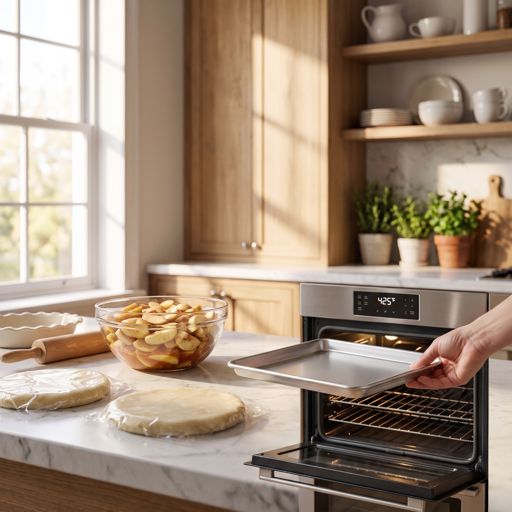
Preheat the oven to 425°F (220°C) and position a rack in the lower third of the oven.
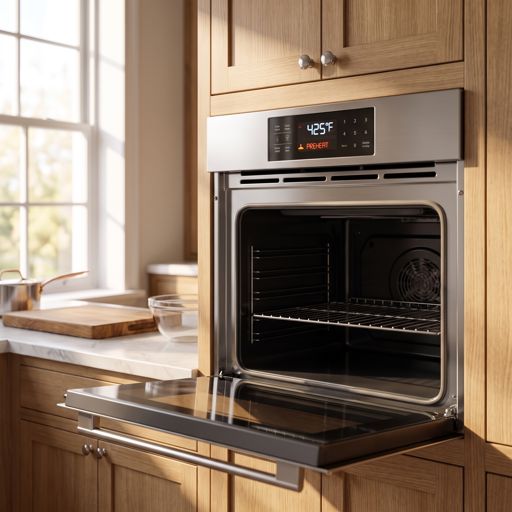
Place a rimmed baking sheet on the lower oven rack to catch any drips while the pie bakes.
Roll Out the Bottom Crust
Remove one disk of dough from the refrigerator and let it sit at room temperature for 5 minutes.
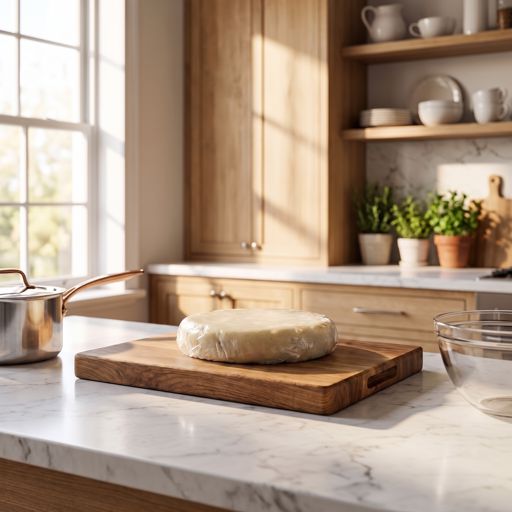
Lightly flour your work surface and rolling pin.
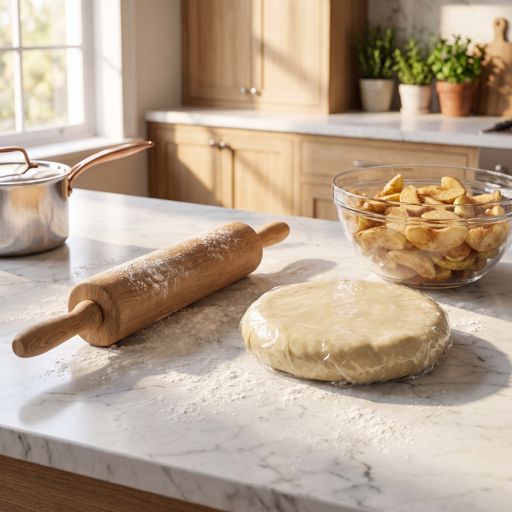
Roll the dough from the center outward, rotating it a quarter turn after every few rolls, until you have a circle about 12 inches in diameter and 1/8 inch thick.
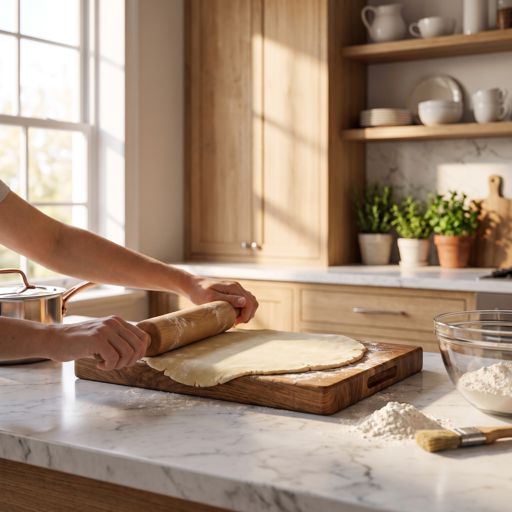
Gently roll the dough circle loosely around the rolling pin.
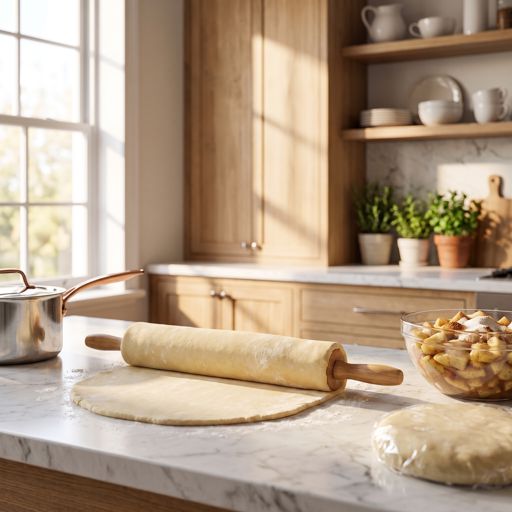
Unroll the dough over a 9-inch pie dish, centering it as best you can.
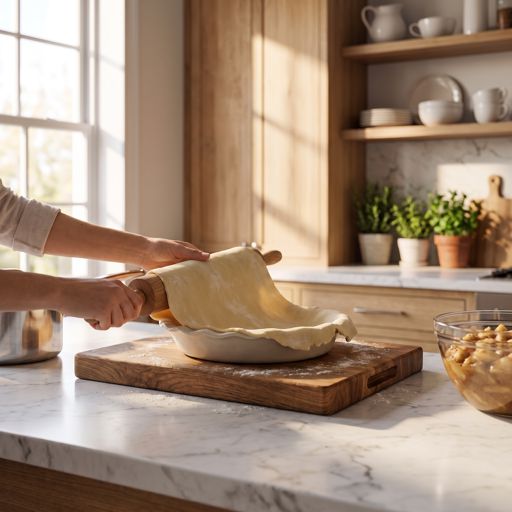
Gently press the dough into the bottom and up the sides of the dish without stretching it.
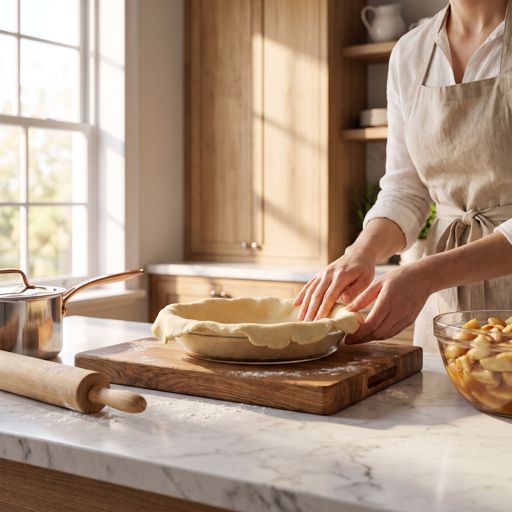
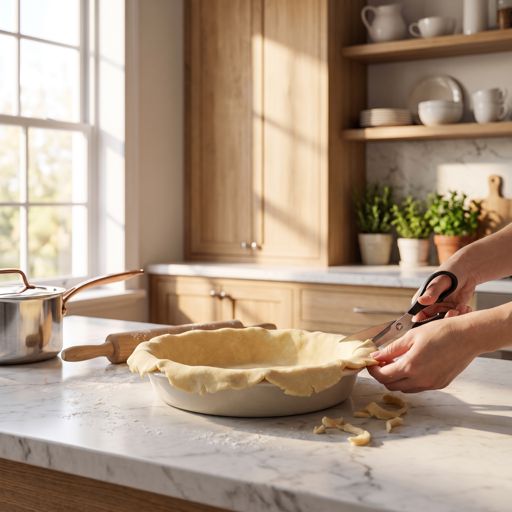
Trim any overhanging dough to about 1 inch beyond the rim of the dish using kitchen scissors or a knife.
Fill the Pie
Spoon the apple filling into the crust, mounding it slightly in the center and leaving any excess liquid in the bowl.
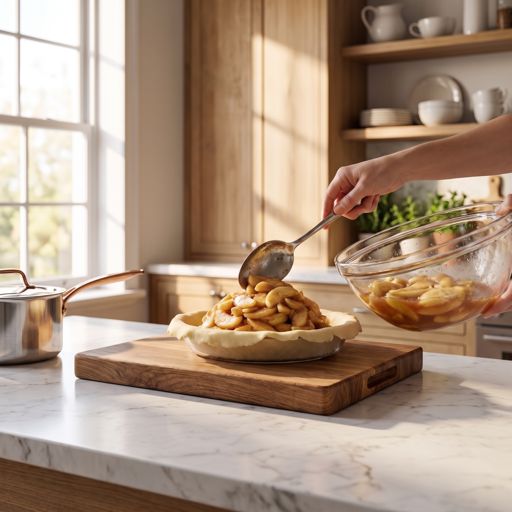
Dot the top of the apple filling evenly with the small pieces of butter.
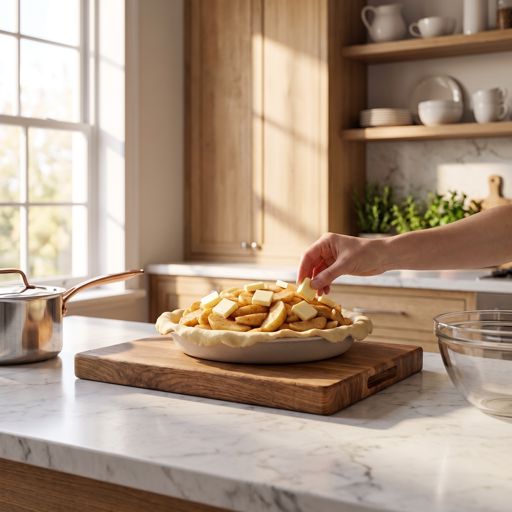
Roll Out and Add the Top Crust
Remove the second dough disk from the refrigerator and roll it out the same way, into a 12-inch circle.
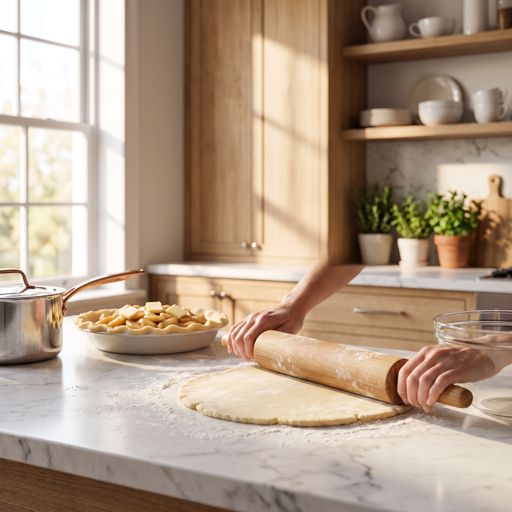
Roll the dough around the rolling pin and unroll it over the filled pie.
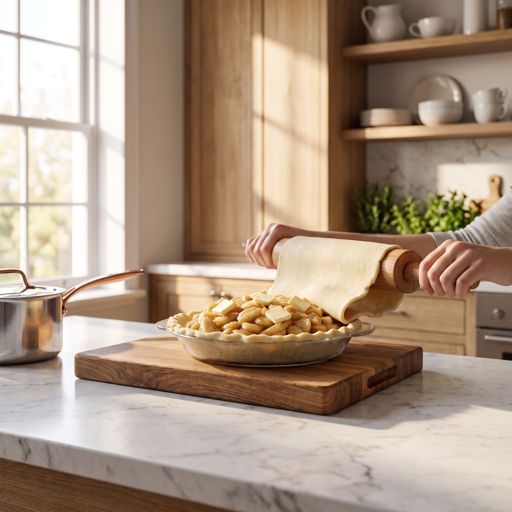
Trim the top crust overhang to match the bottom crust, about 1 inch beyond the rim.
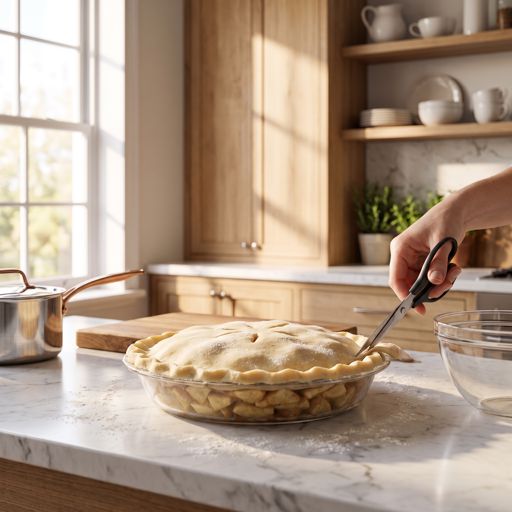
Fold the top and bottom crust edges together and tuck them under so the fold sits right at the rim of the dish.
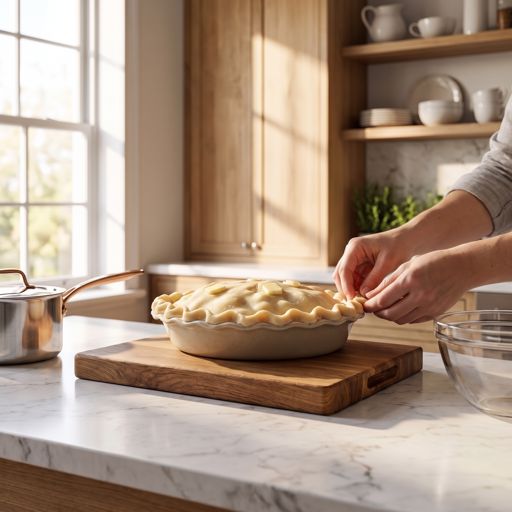
Crimp the edge by pressing the dough between your thumb and two fingers all the way around the rim to form a decorative border.
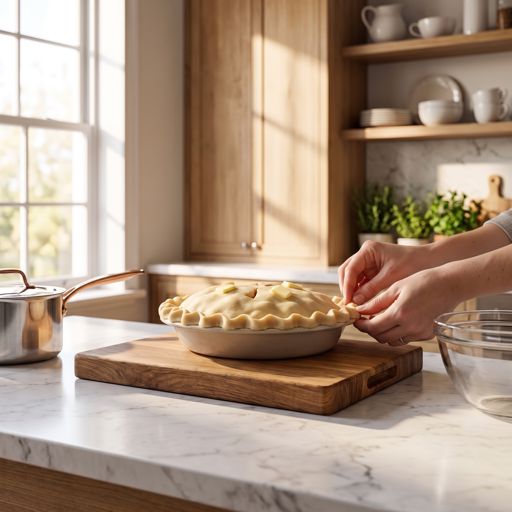
Cut 5 to 6 small slits in the top crust using a sharp knife to allow steam to escape during baking.
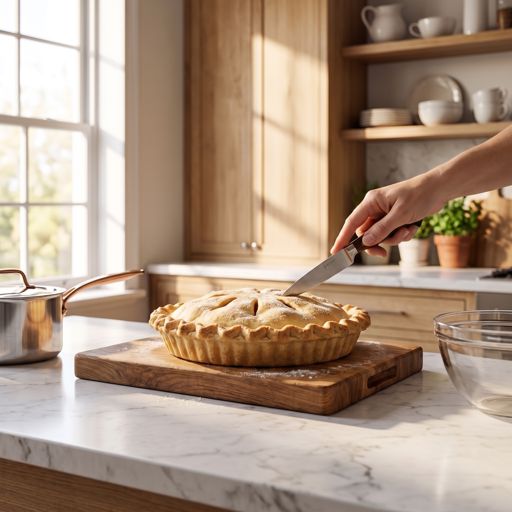
Apply the Egg Wash
Whisk together the egg and 1 tablespoon of milk in a small bowl to make the egg wash.
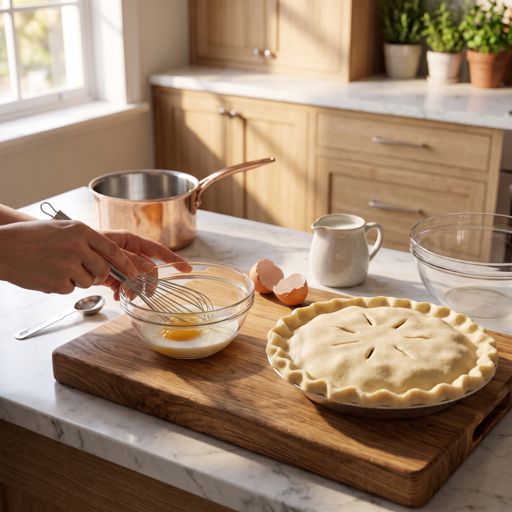
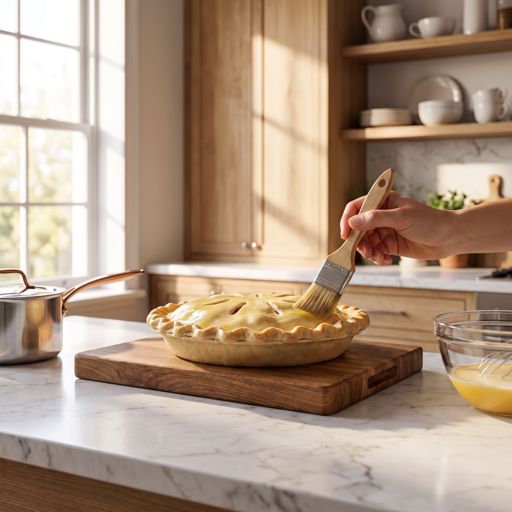
Brush the egg wash evenly over the entire top crust and crimped edges using a pastry brush.
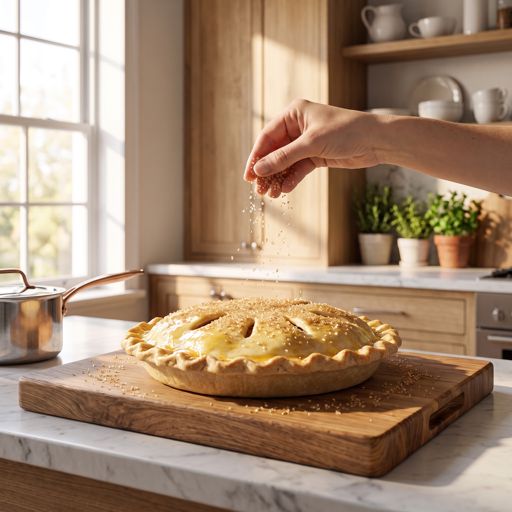
Sprinkle the coarse sugar evenly over the top of the pie.
Bake the Pie
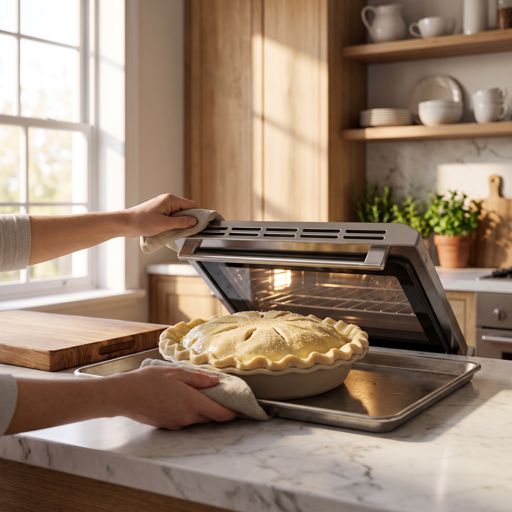
Place the pie on the preheated baking sheet and bake at 425°F for 20 minutes.
Reduce the oven temperature to 375°F (190°C) without opening the door.
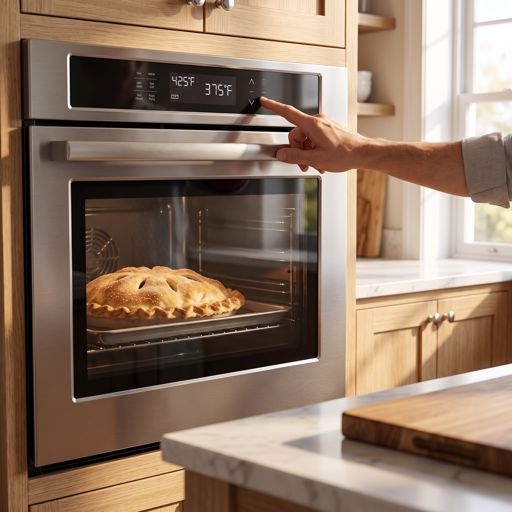
Continue baking for 35 more minutes, until the crust is deep golden brown and you can see the filling bubbling through the slits.
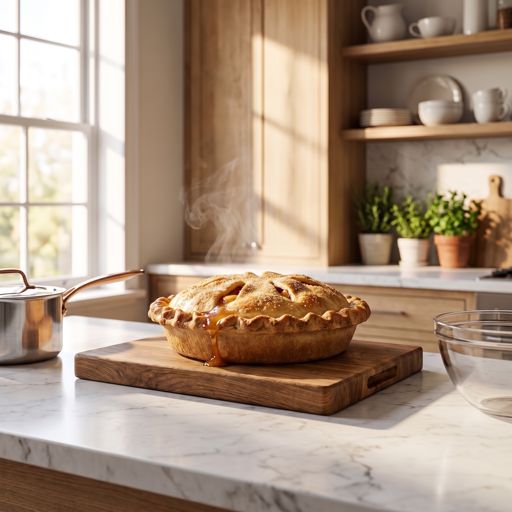
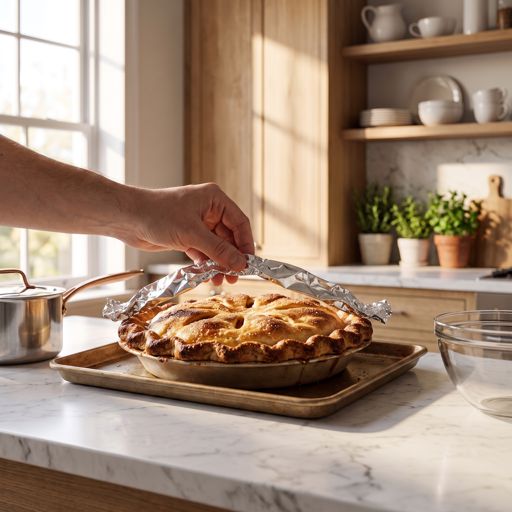
If the edges begin to brown too quickly at any point, loosely cover them with strips of aluminum foil or a pie shield.
Cool Before Serving
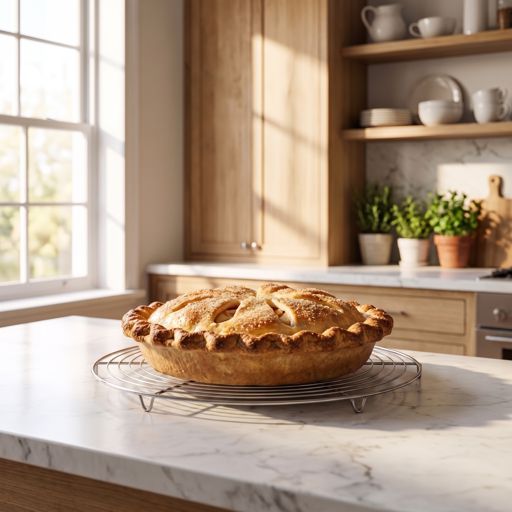
Transfer the pie to a wire rack and let it cool for at least 2 hours before slicing — this allows the filling to set so it won't be runny when cut.
Prep, step by step
Nutrition per serving
Nutritional values are estimates. Always verify ingredients and quantities for allergies and dietary needs.
Reviews
No reviews yet — be the first to share how it turned out.